Laundry Room Makeover – Part 1: Updated Utility Sink

I have been working on transforming my laundry room into a place that is more organized and therefore a better place to work in. Our laundry room is actually quite large (for a laundry room), but it is in a dark basement.
On top of that it is the first room you see when you enter the house from the garage. The garage entry door opens opposite the laundry room door.
This was actually my Lenten promise: organize the laundry room – even though you really don’t want to and there are several other projects on your mind that would be more fun and exciting. Also, do not start any other project until this project is done!
That was a hard Lenten promise for me! I love working on several projects at once – one project typically inspires another project. But, I knew if I started another project the laundry room would never get finished…
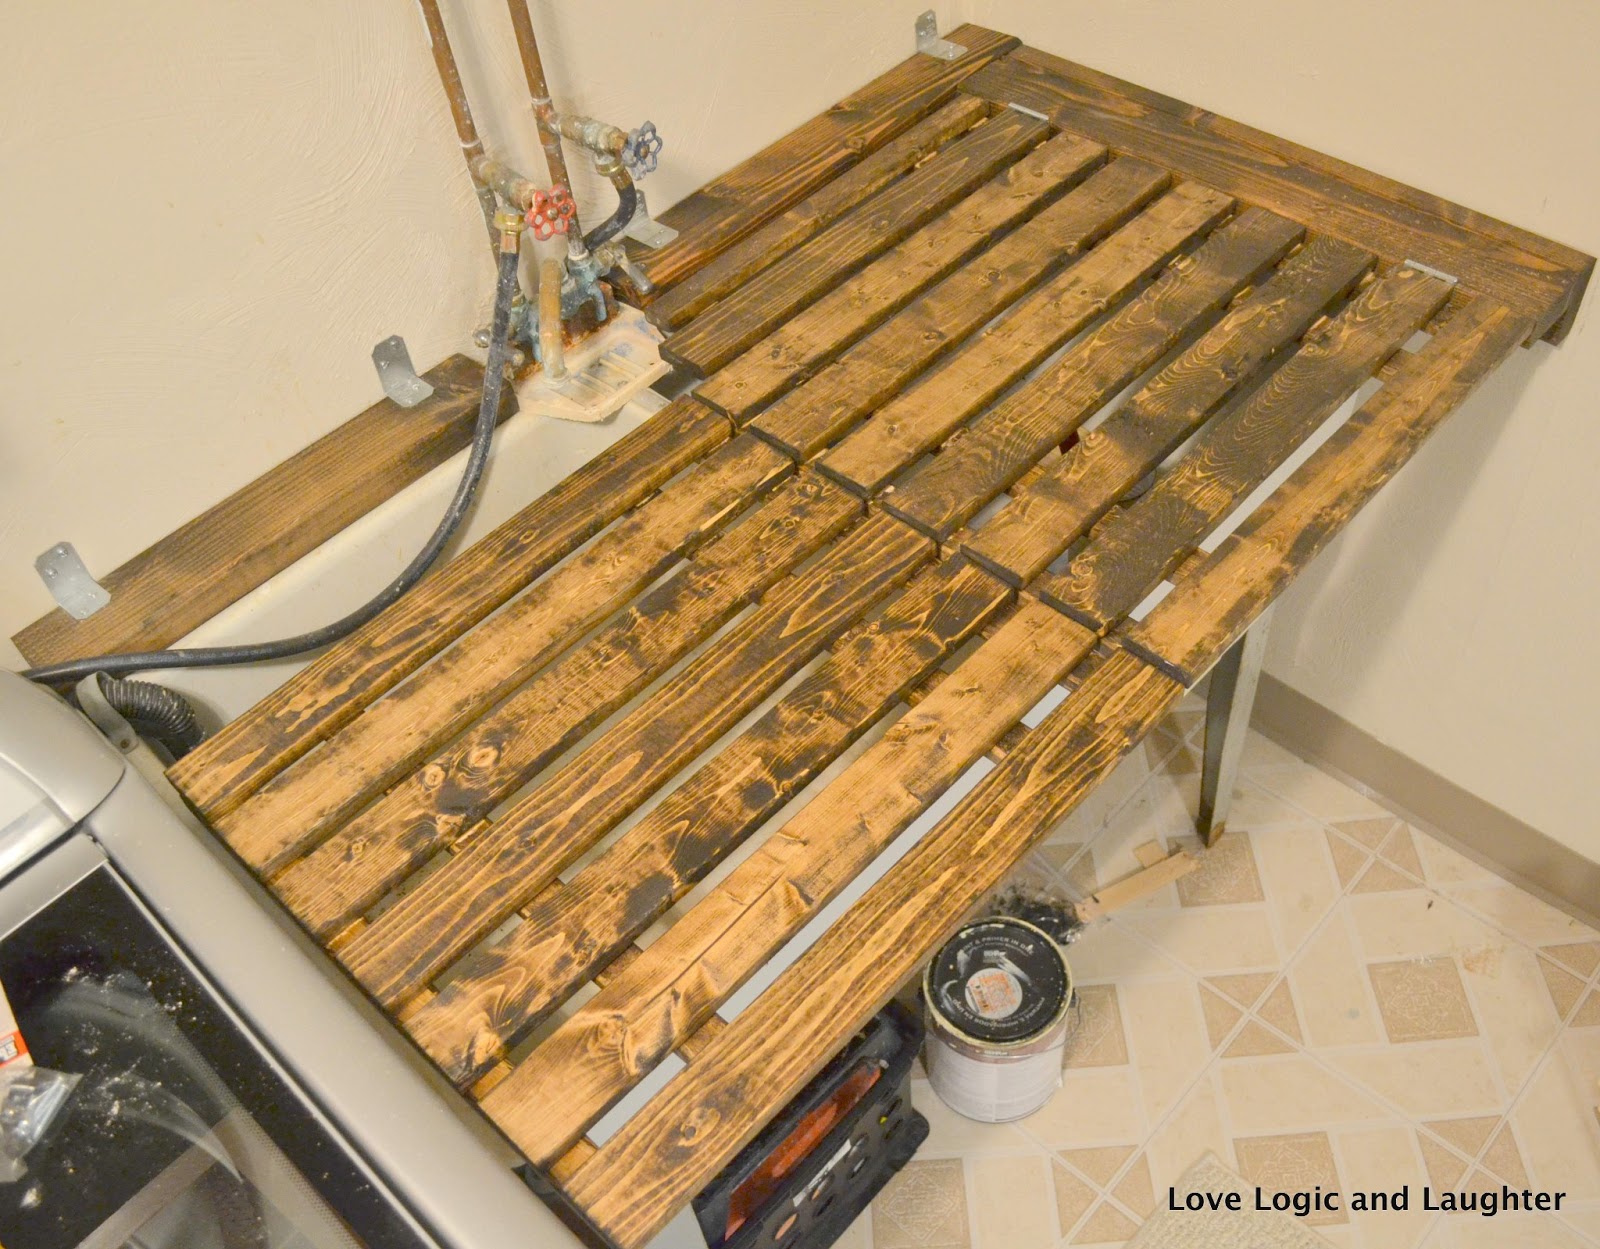
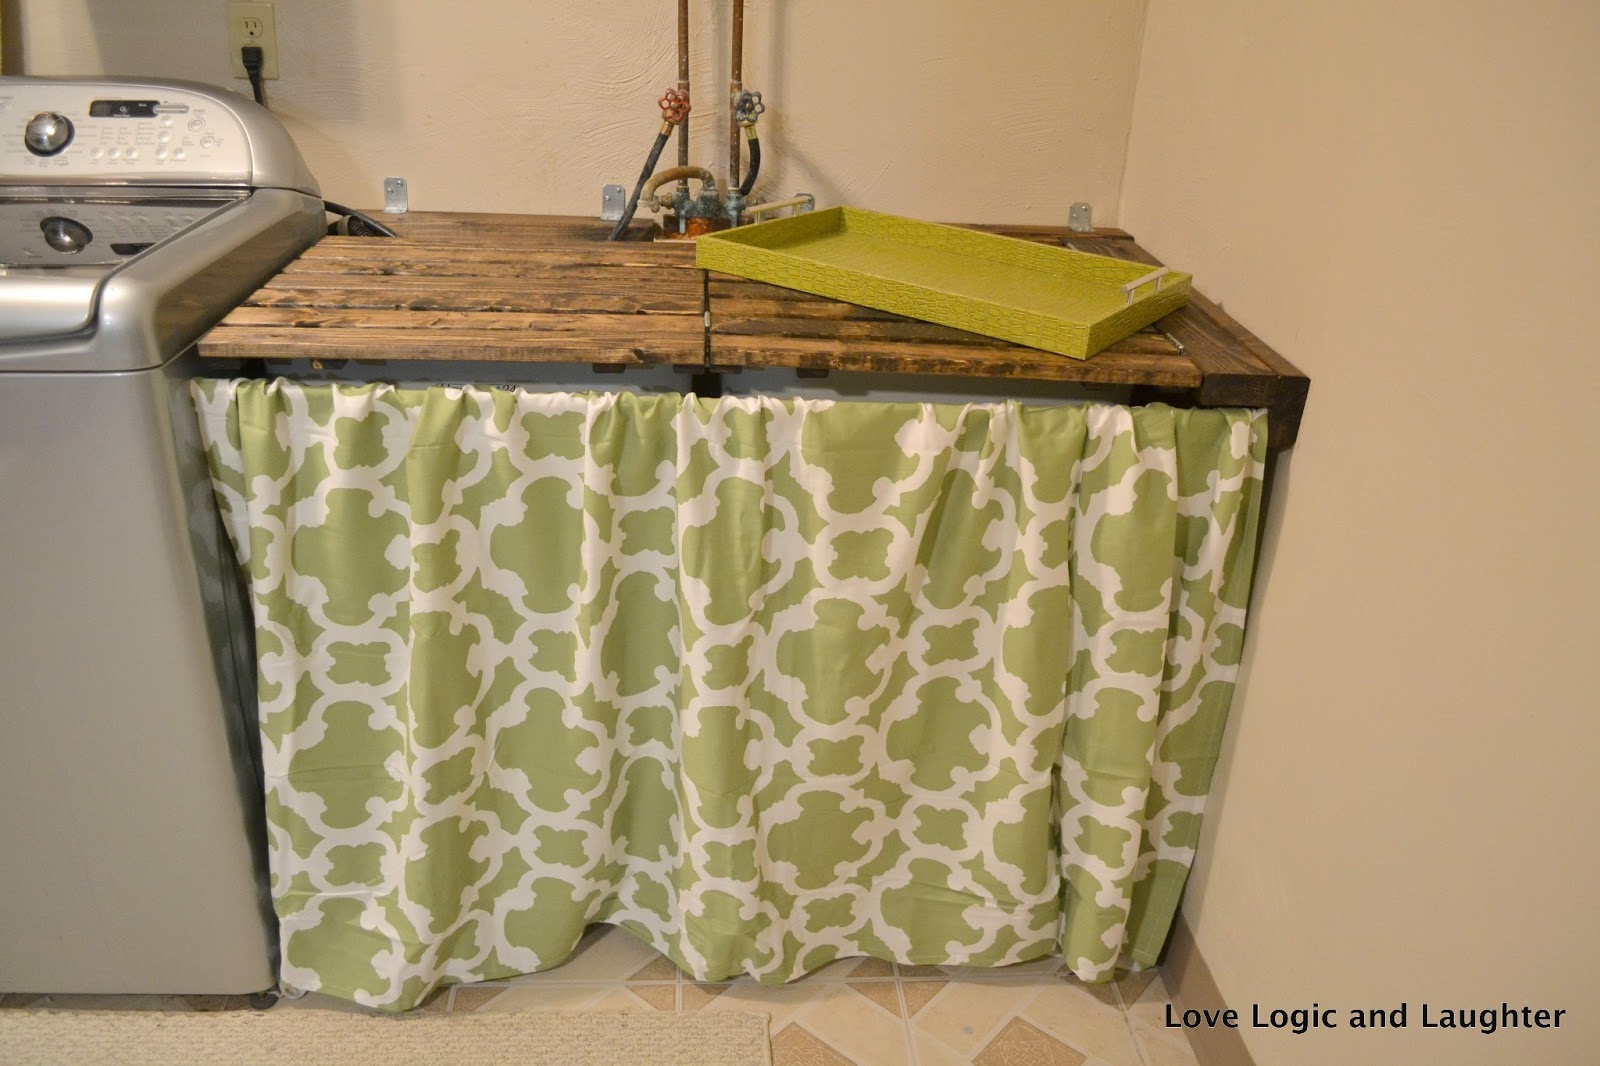
So step 1 in transforming my laundry room was making my utility sink more utilitarian.
AFTER: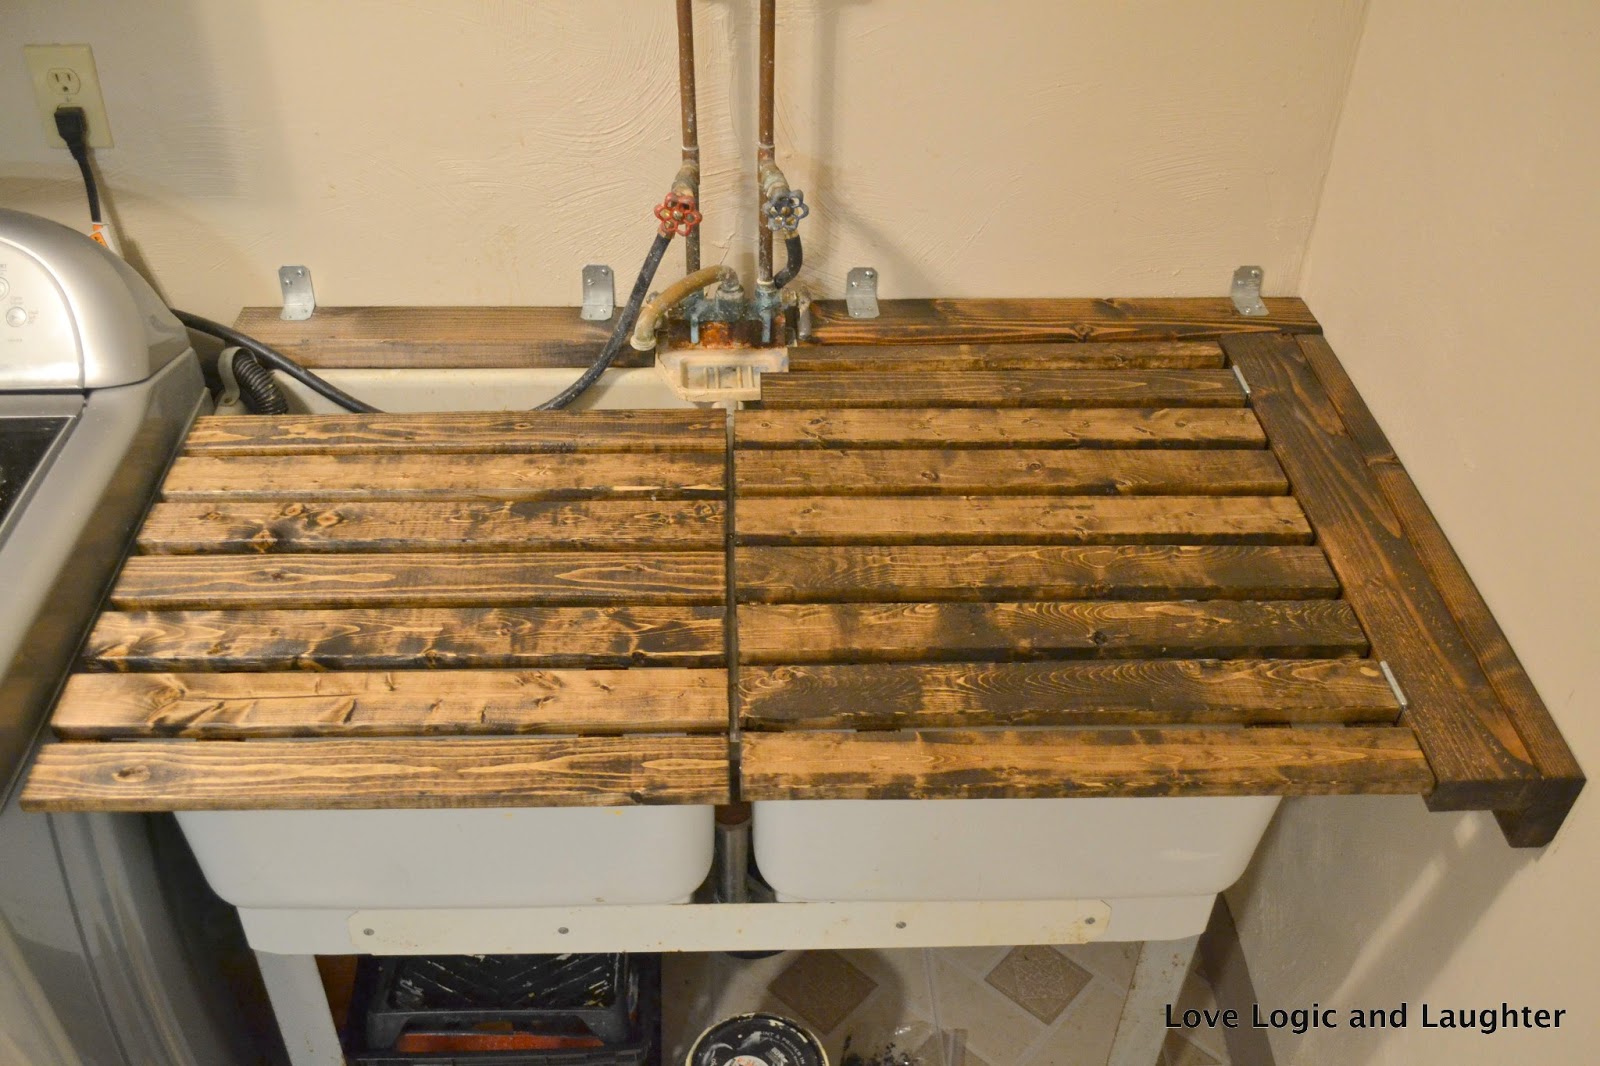
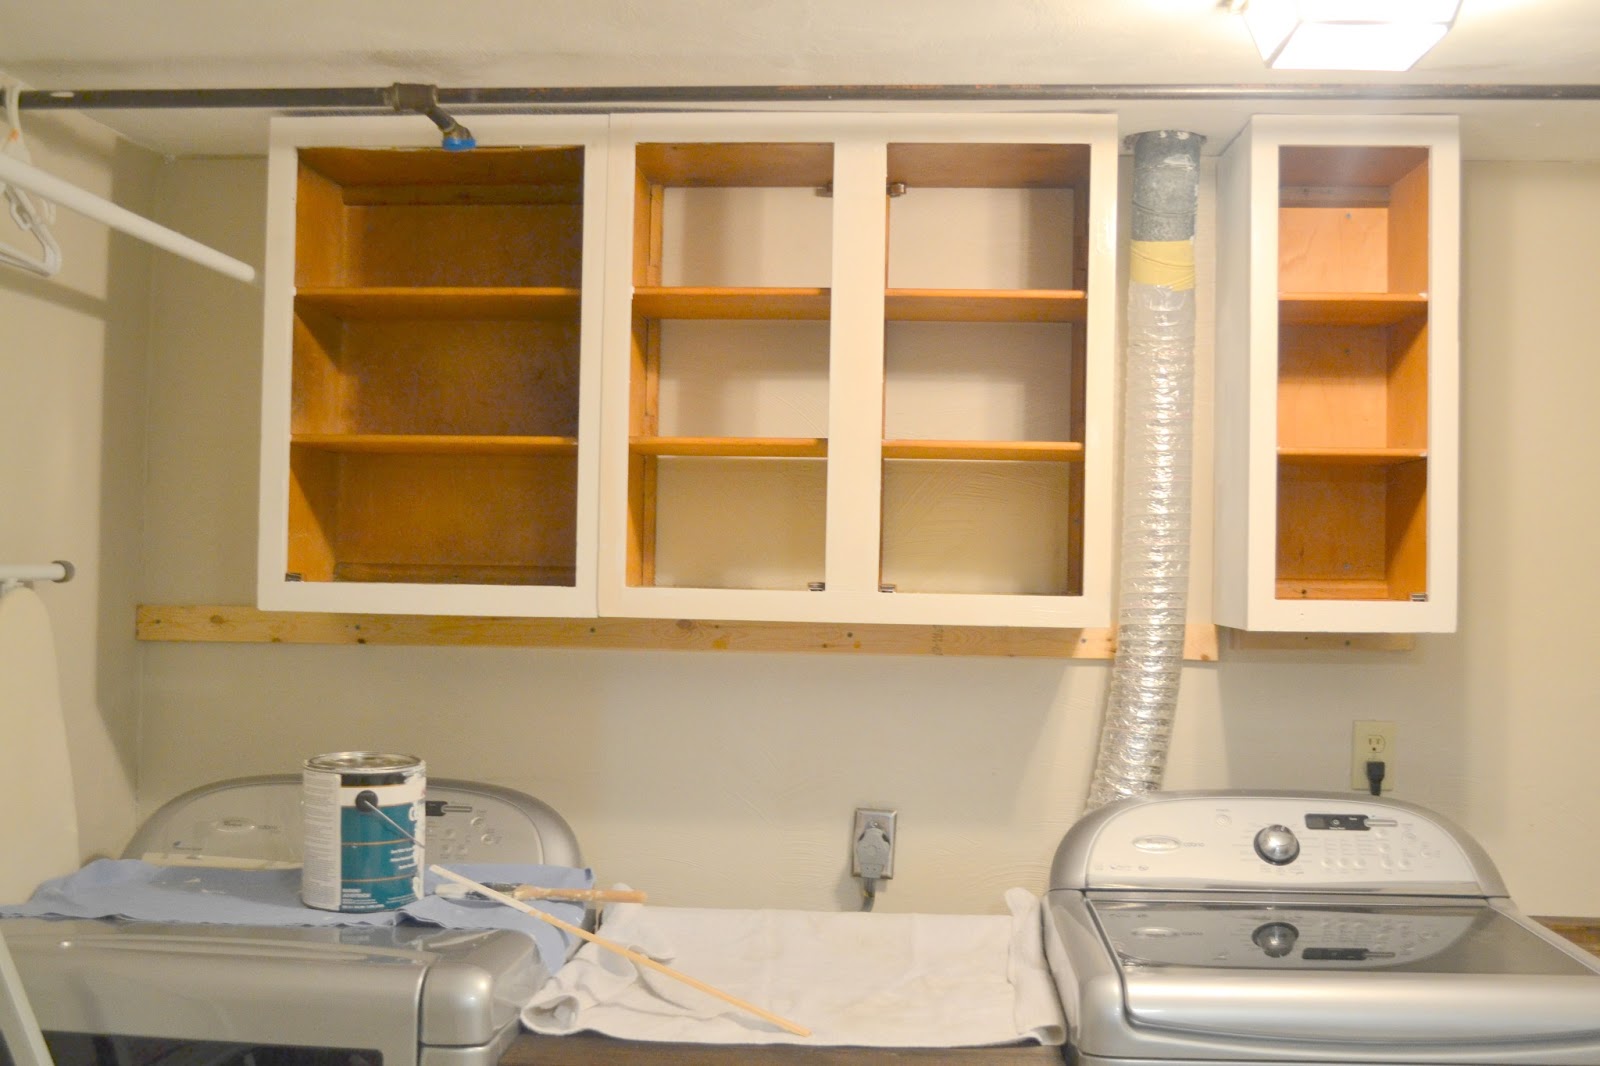
BEFORE:
I am actually very excited about this part of the Laundry Room Makeover!
We have one of those large plastic utility sinks that is great for when you need a large basin to clean things in that you don’t mind getting dirty, but it is also quite an eyesore and takes up quite a lot of space.
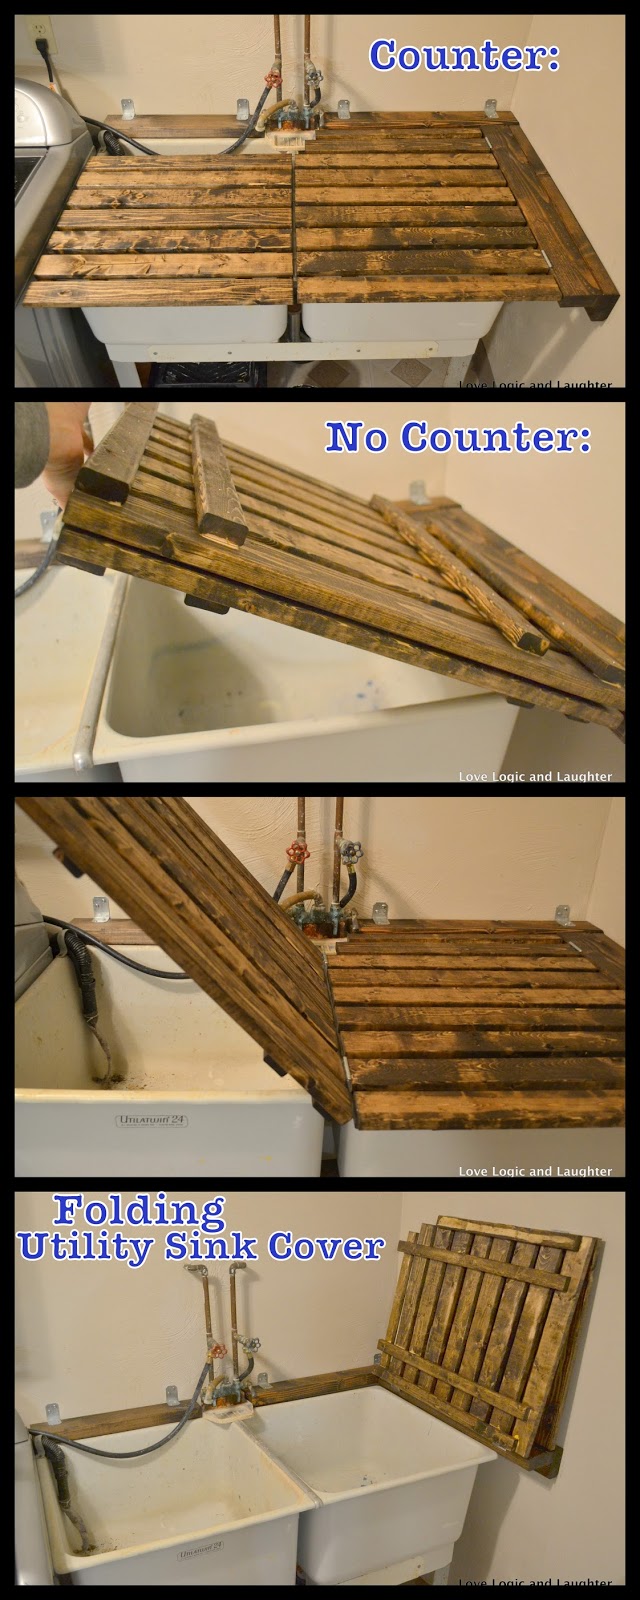
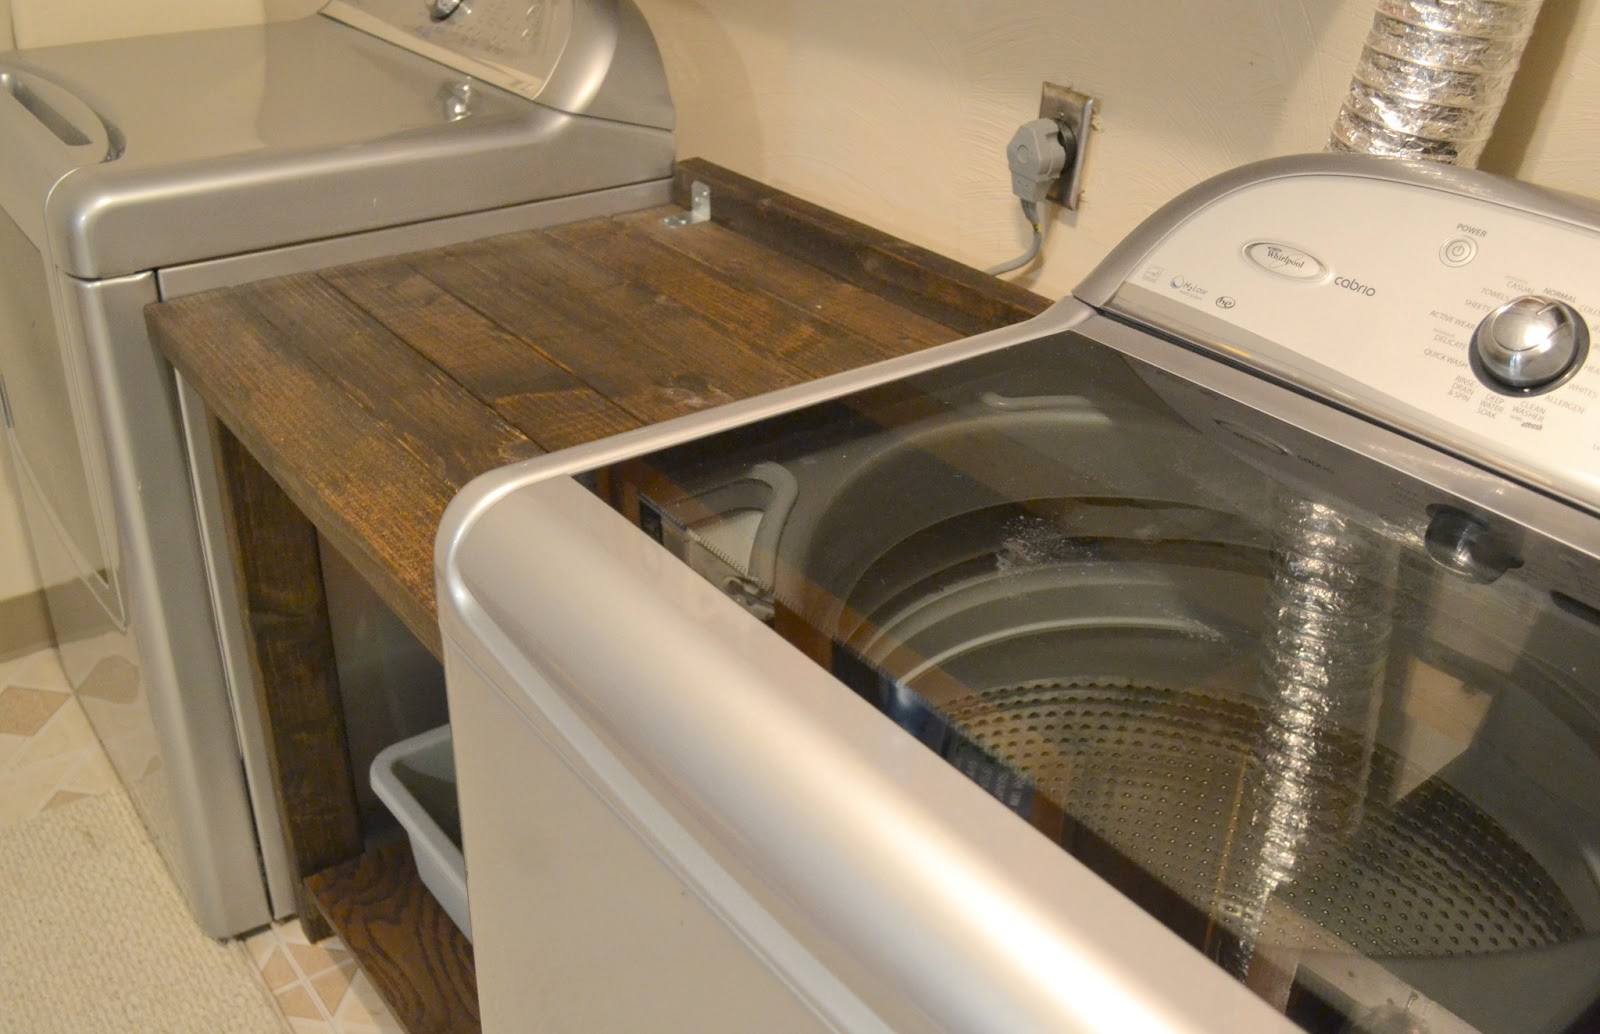
The utility sink cover/lid is on a hinge so that if folds up and out of the way for when you need to work in the basins.
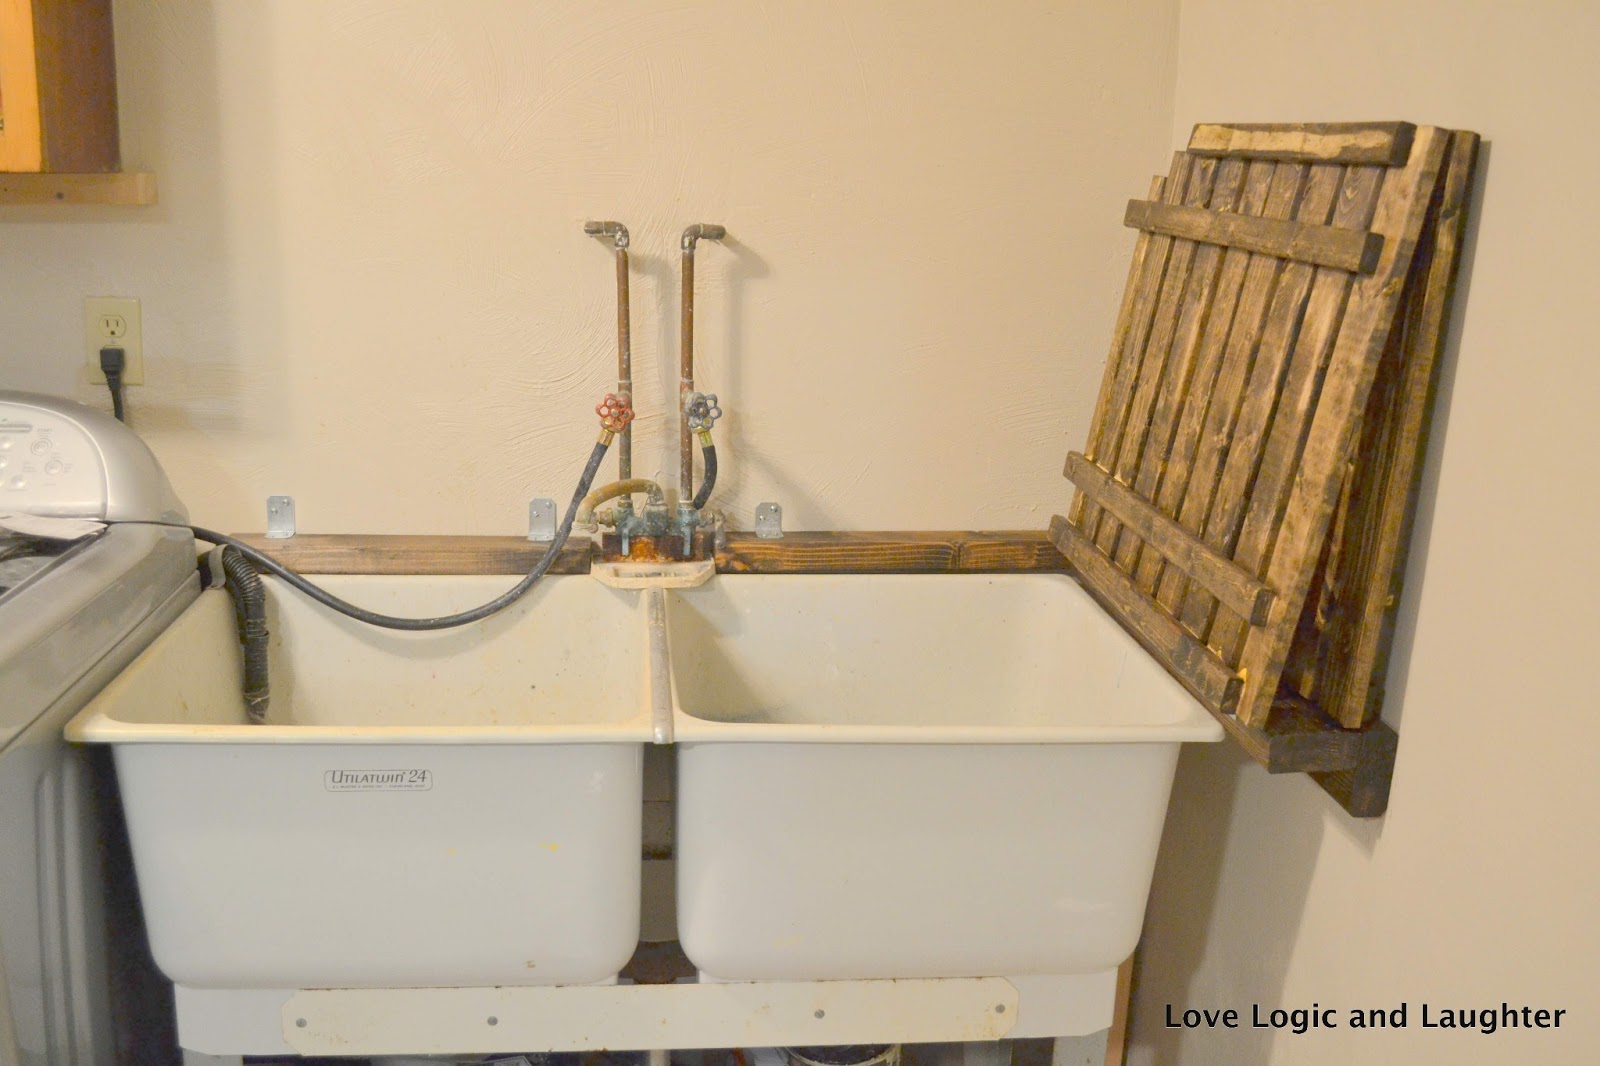
Here is a slideshow of pictures showing how the utility sink cover moves from a counter space to a workable sink:
The cover when closed on top of both sink basins Opening the left basin – hinged in the middle
 Another view of the hinges in the middle – one basin is open and one basin is closed
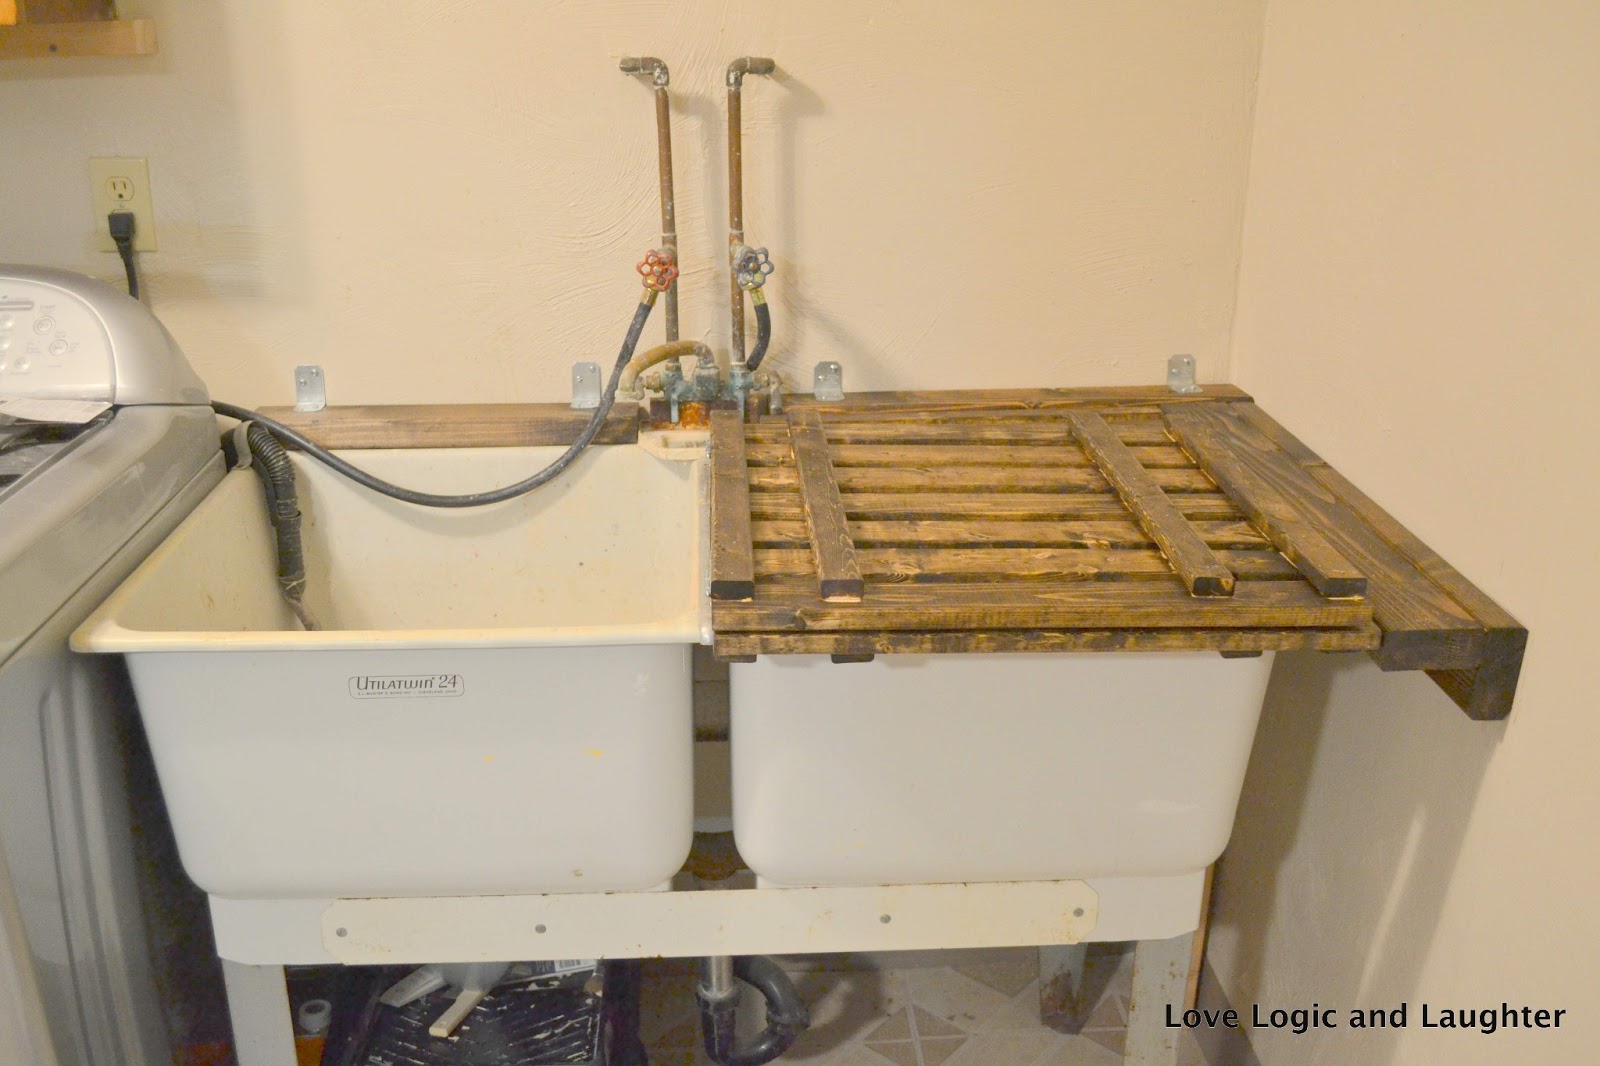 One basin is open and one basin is closed – opened only the left basin
 Opening the right basin
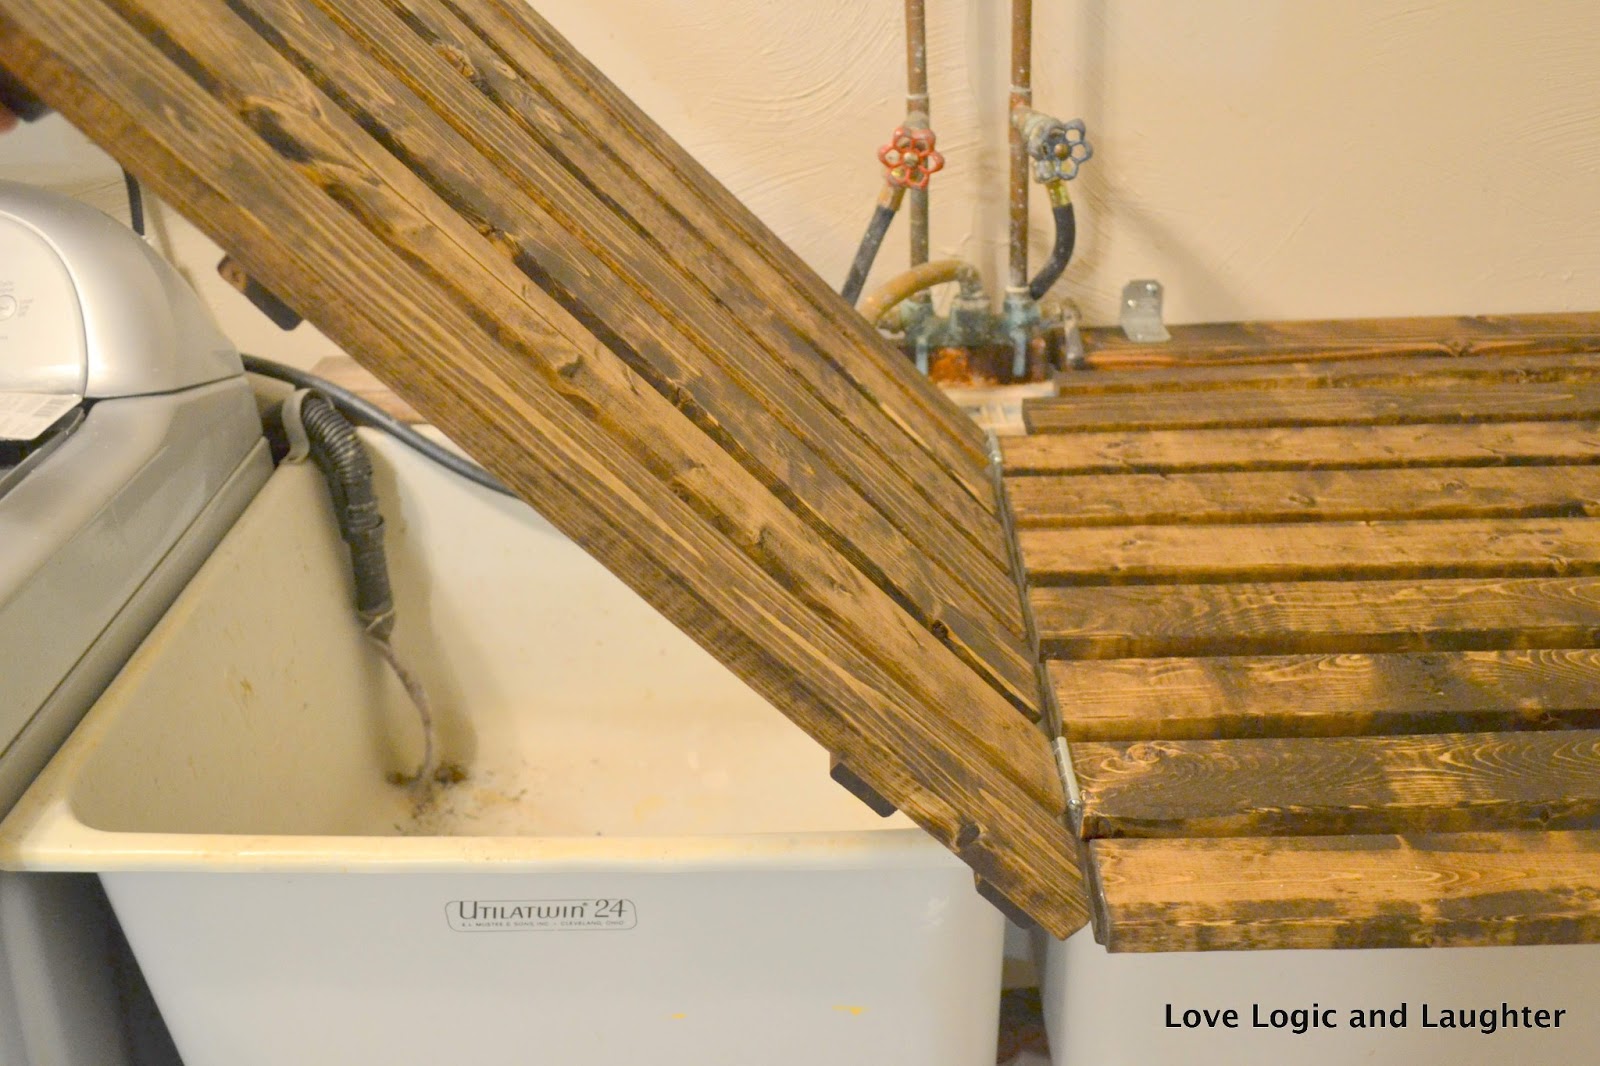
 Both basins open – cover is sitting on ledge that I built and leaning against the wall
 Both basins open
One of the things our laundry room was missing was countertop space. So, this project helped to provide more counter space and to also be an area where dirty clothes can lie and be stain treated. My washing machine is directly to the left of the utility sink (it actually empties into the sink via the hose you see entering the sink in the left basin).
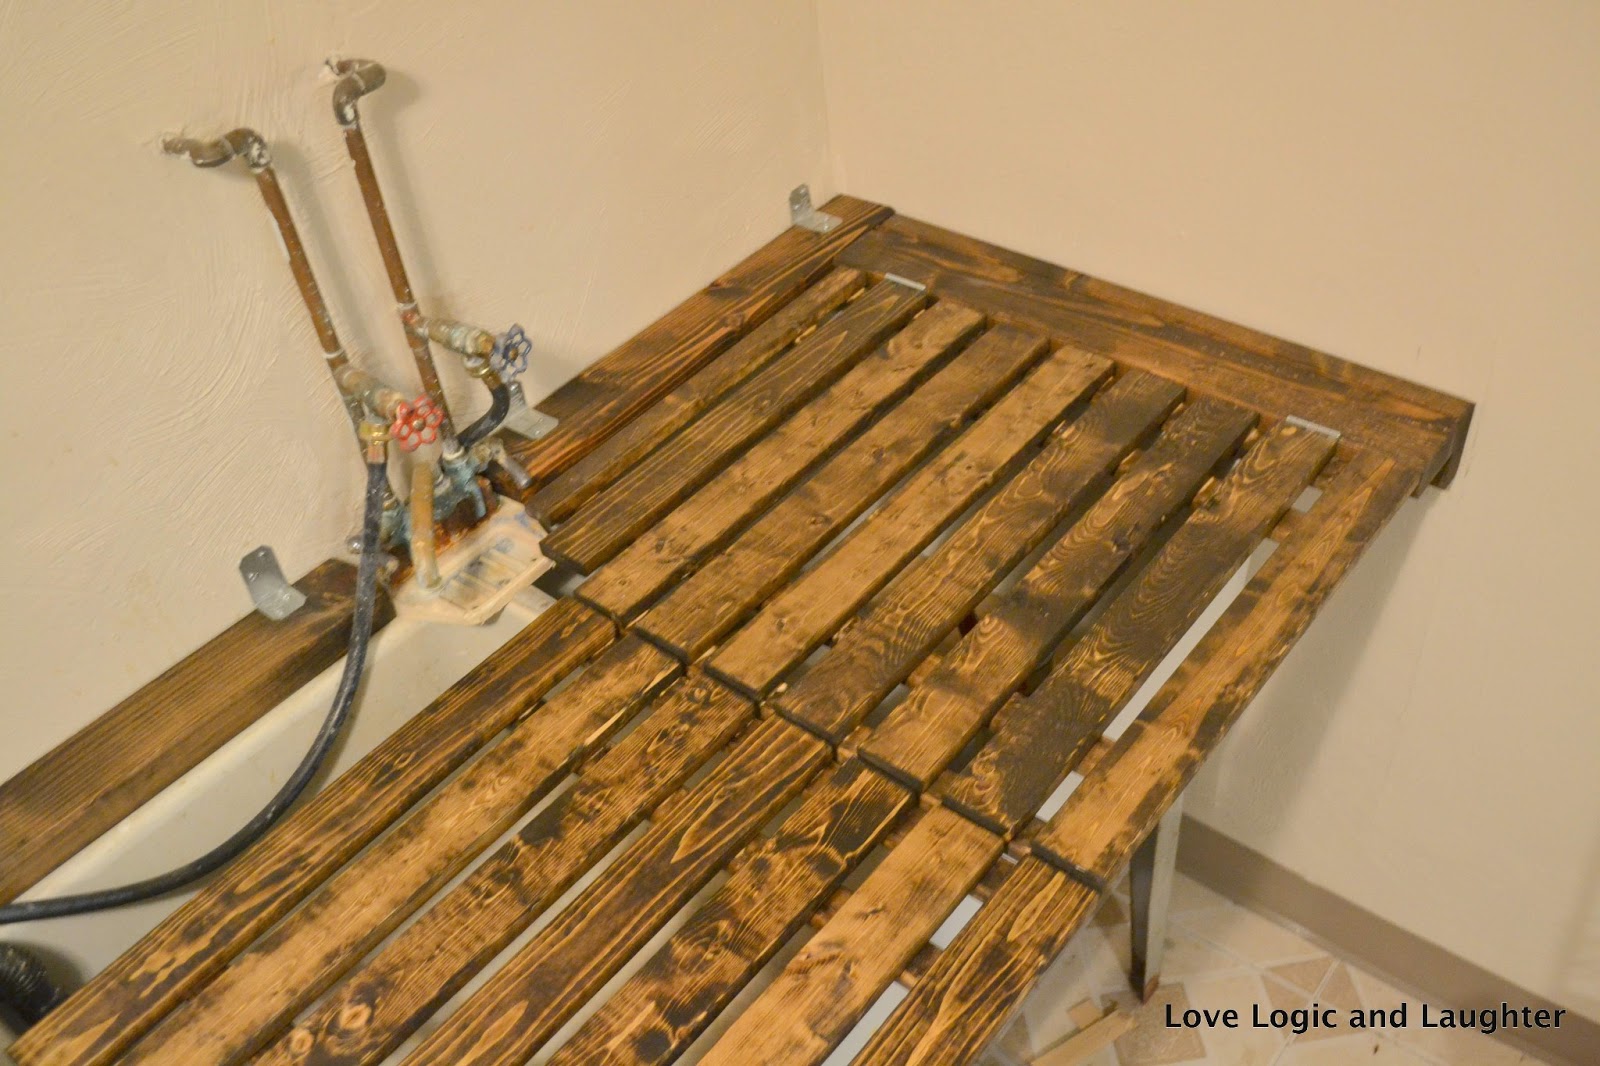
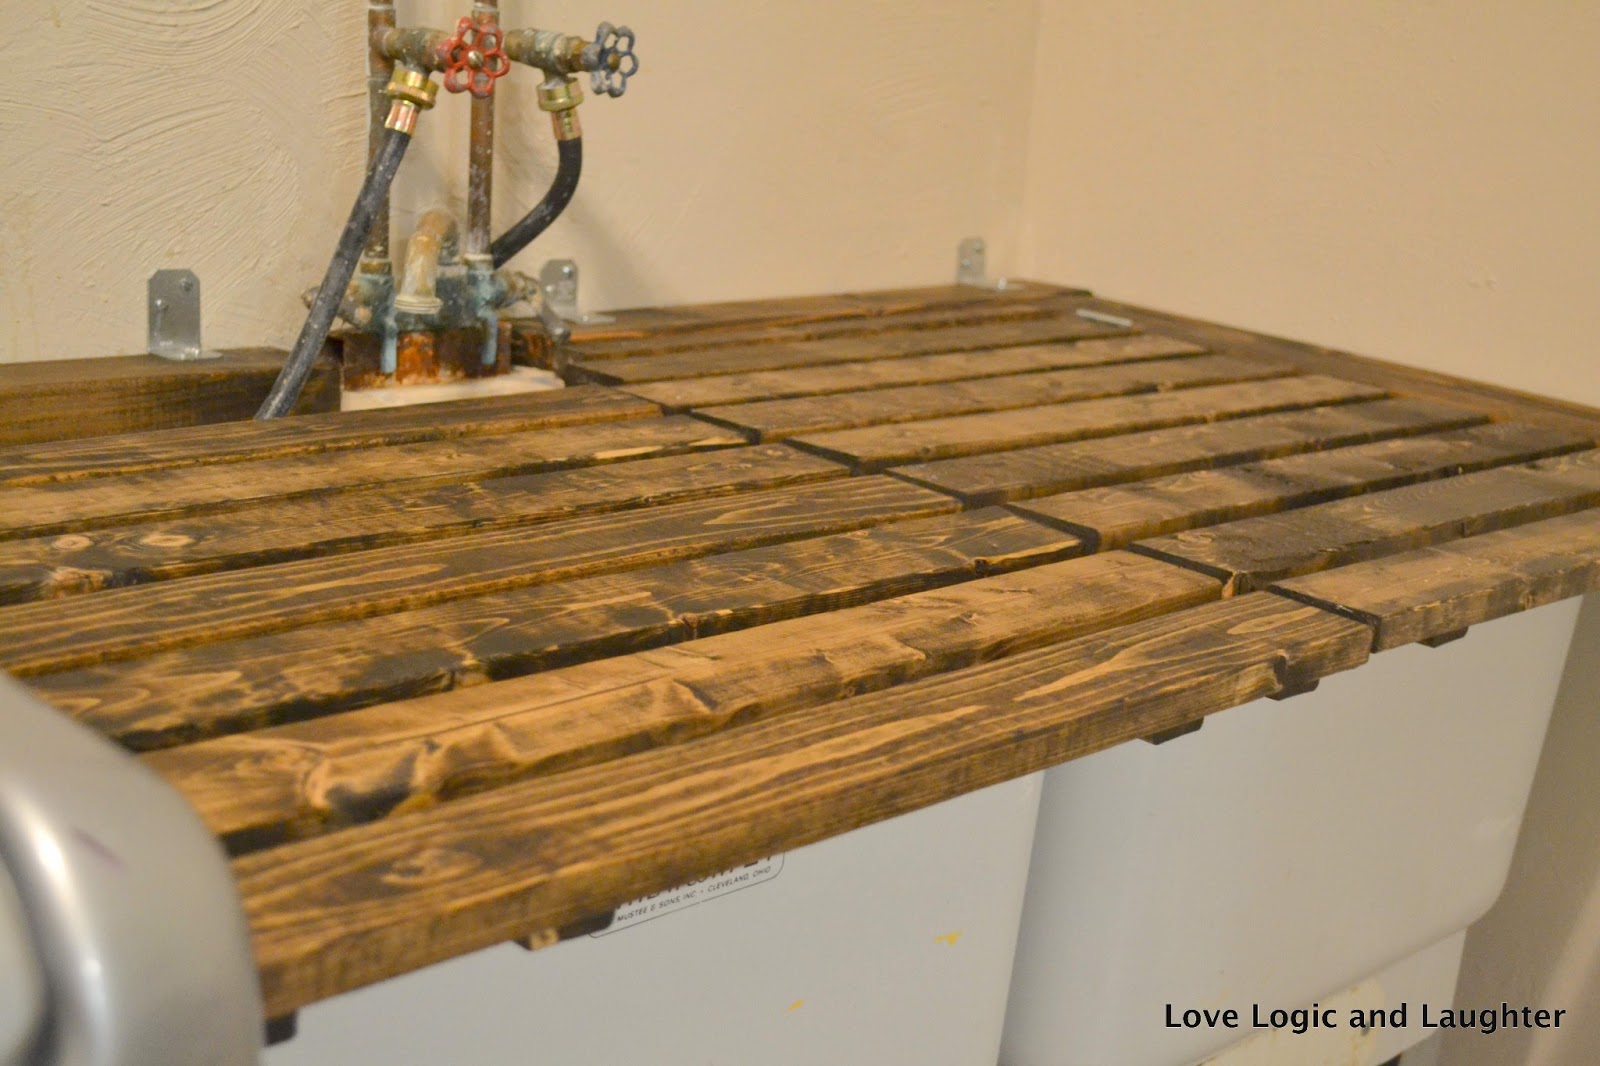
A few more views of my new countertop:


Links for details on the individual Laundry Room Makeover DIY Projects:
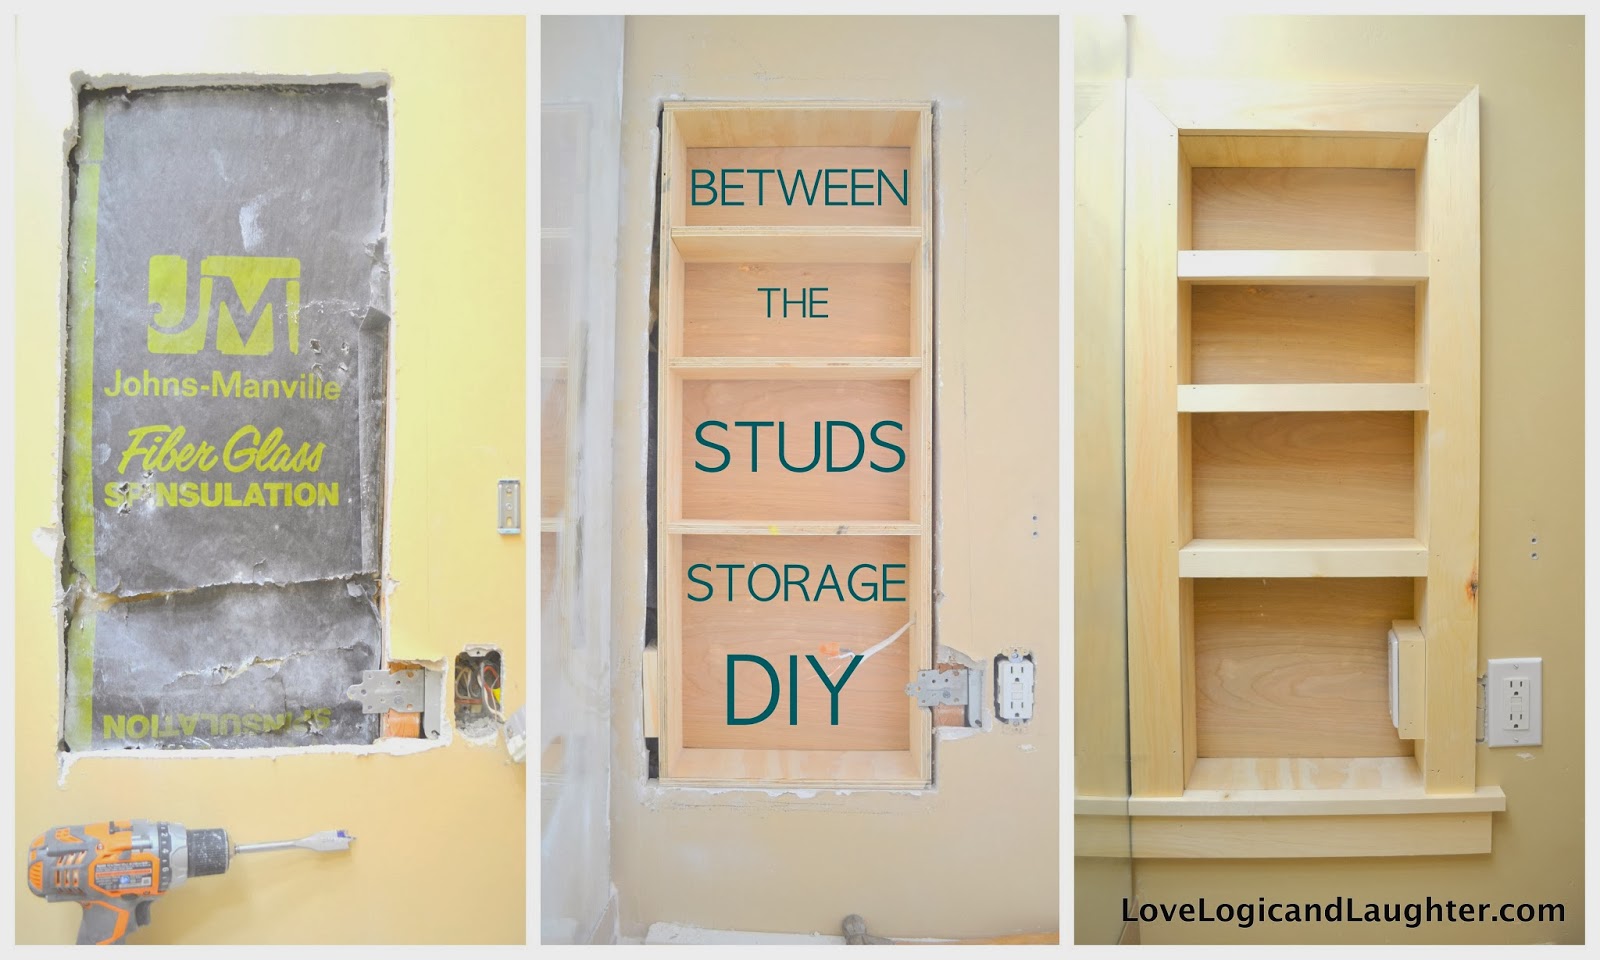
- Installing New/Old Cabinets For Storage
- Even MORE Countertop Space – Building a “cabinet” between the washer and dryer with 2×4’s
- Built in Corner Shelves – a basement “pantry”

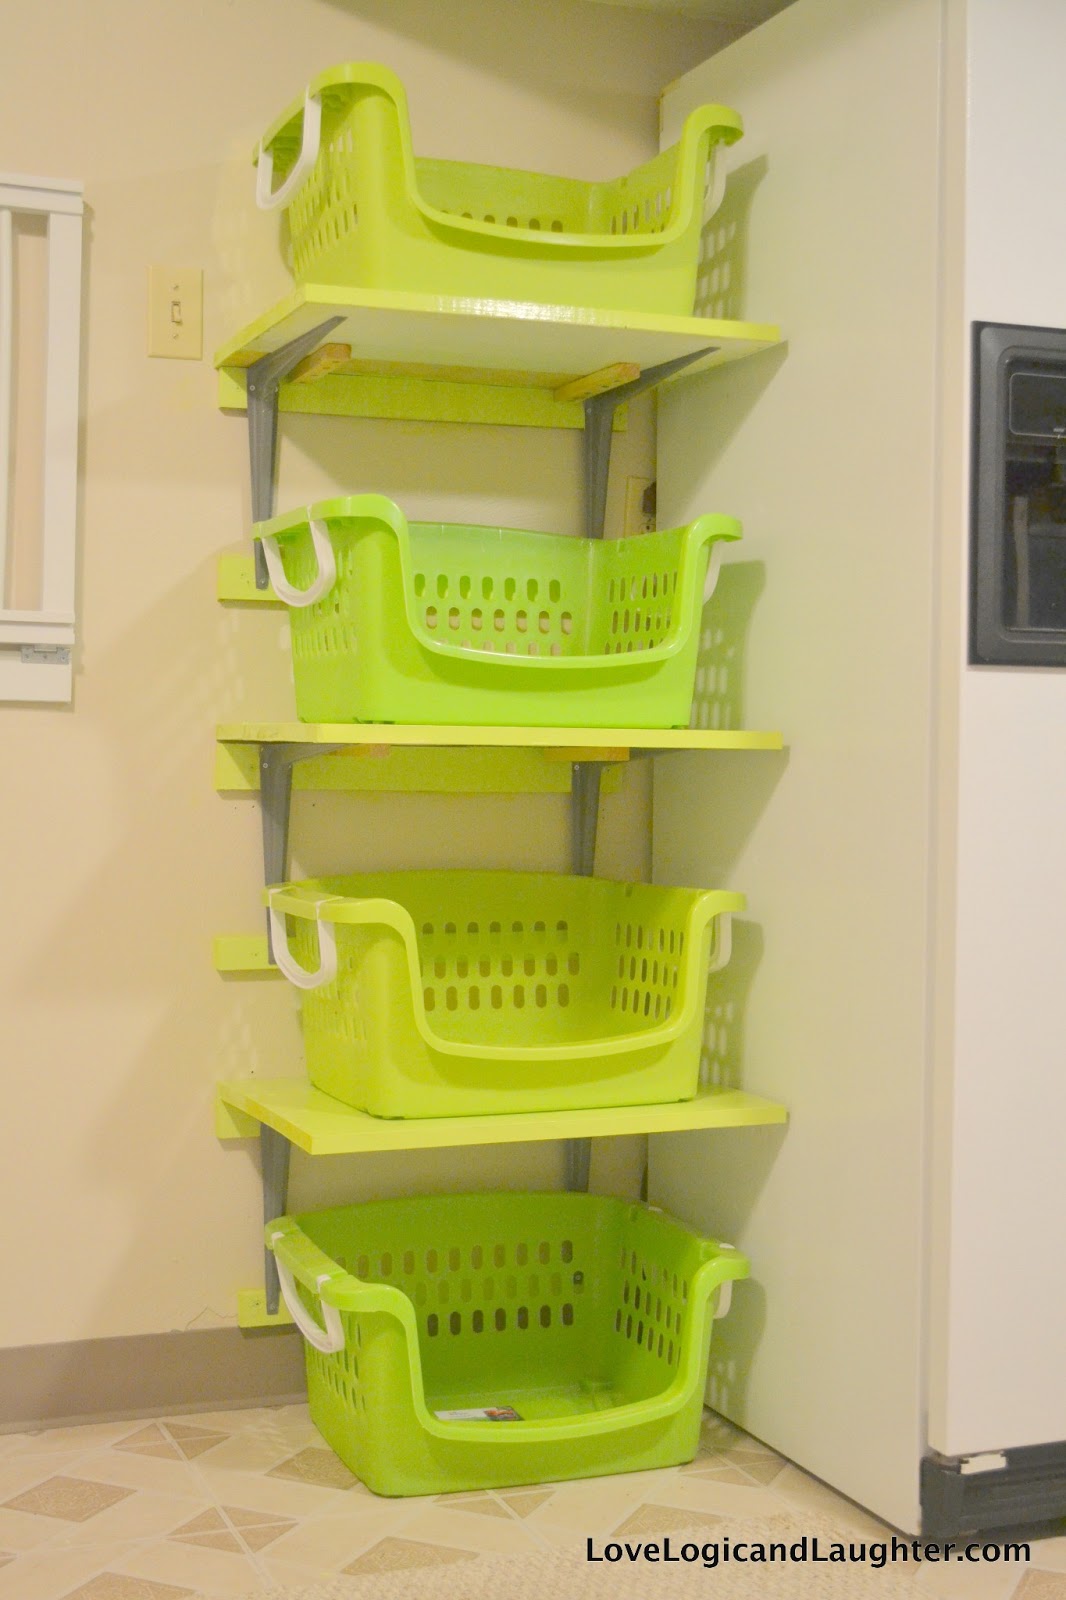
- Built in Shelves for Laundry Baskets
- DIY wall folding drying rack

- DIY Fold-Away ironing board
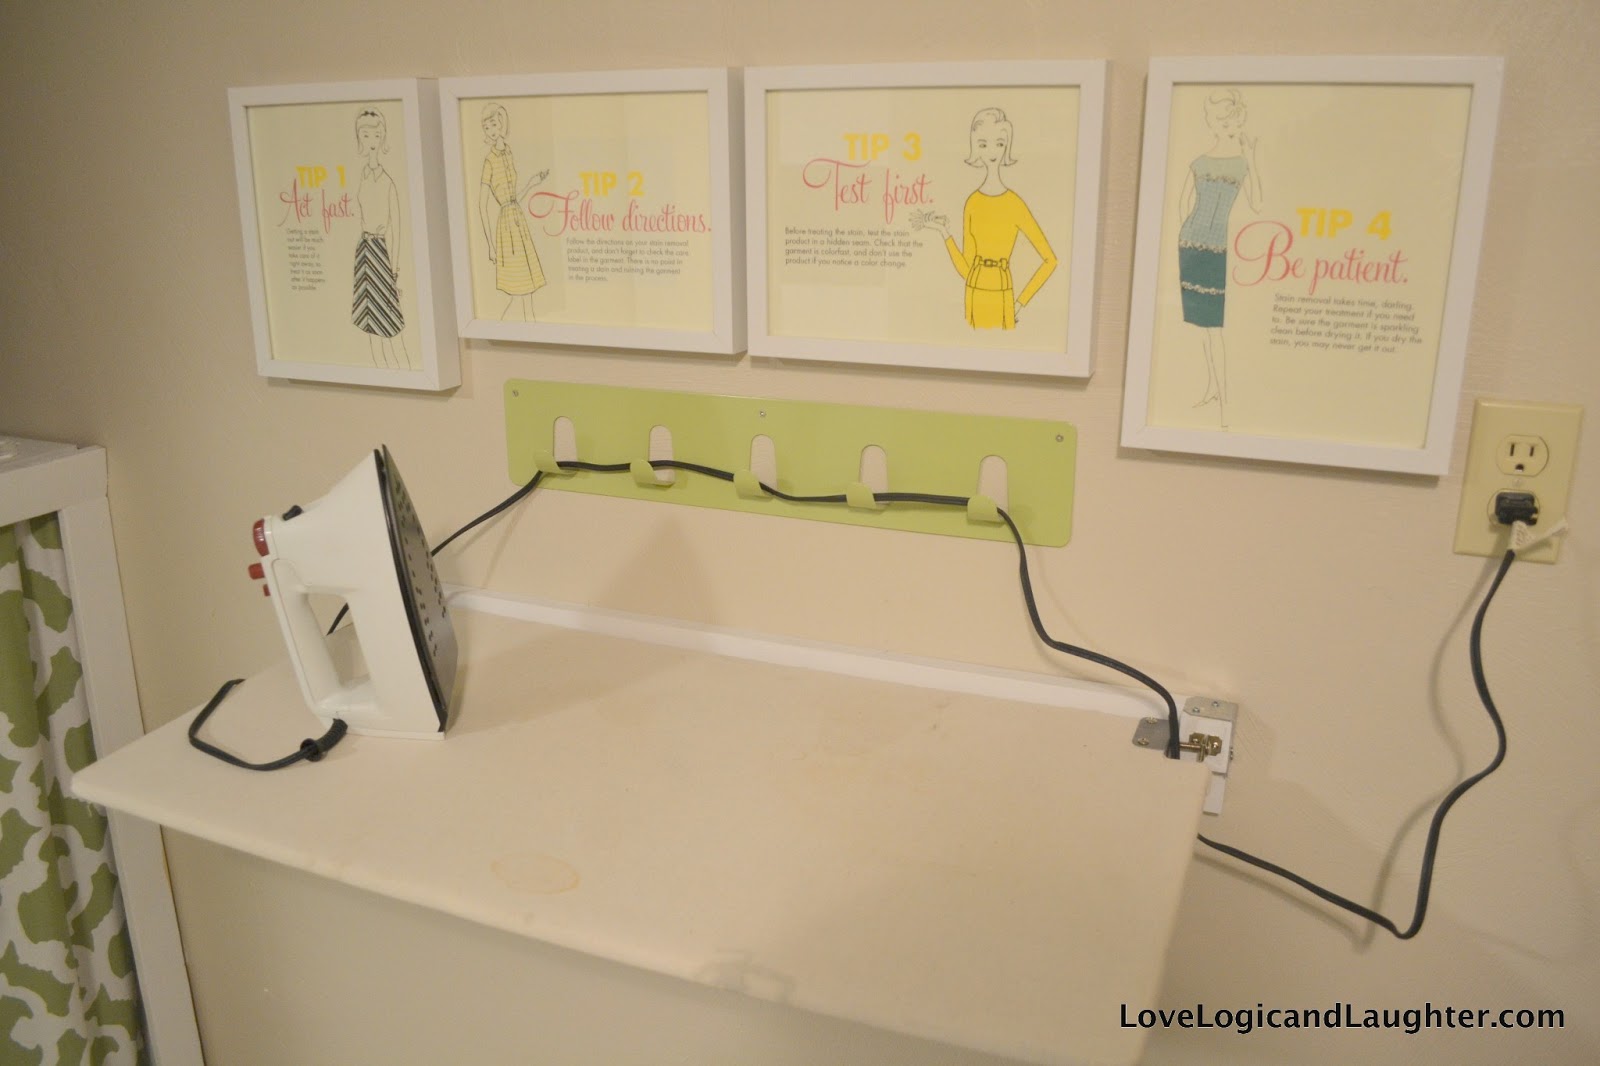
- Utility Sink Cover Tutorial

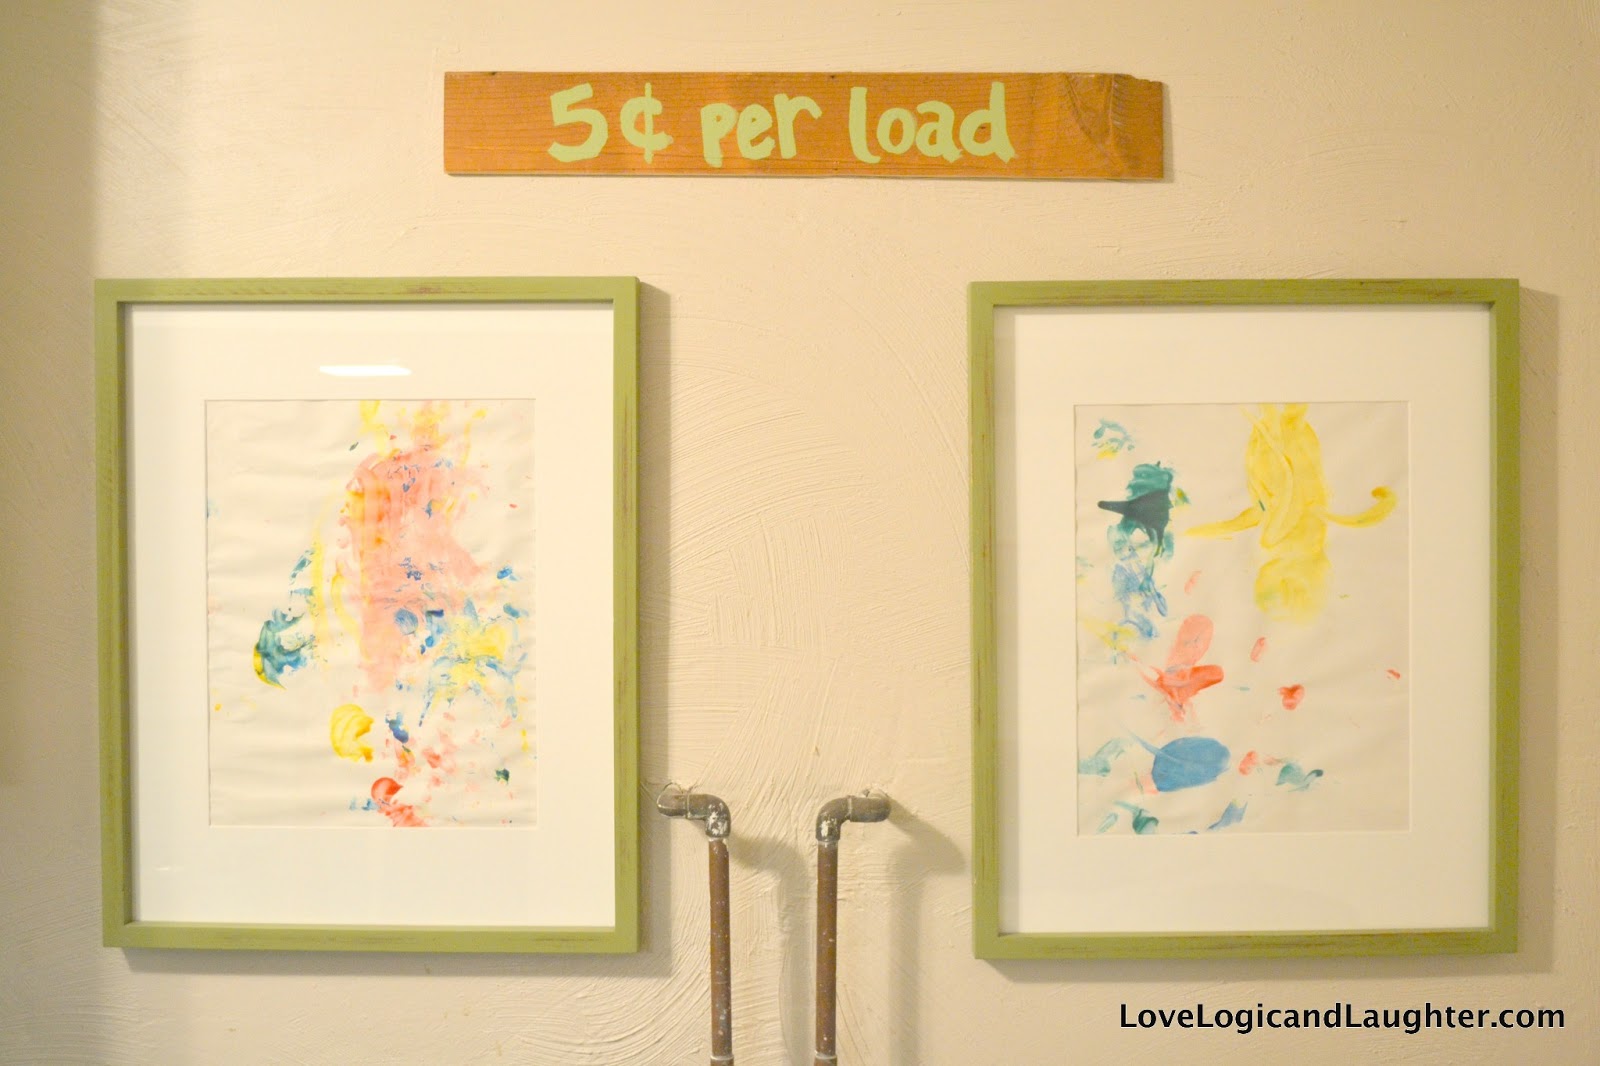
- Bringing it all together – artwork and details – The Final Reveal!